Doll Hair & Rerooting Guide
How I Learned Doll Hair Restoration From Other Artists
Kim reflects on learning doll hair restoration from the wider artist community — how she evaluated techniques, practiced quietly, and turned shared wisdom into her own careful process.
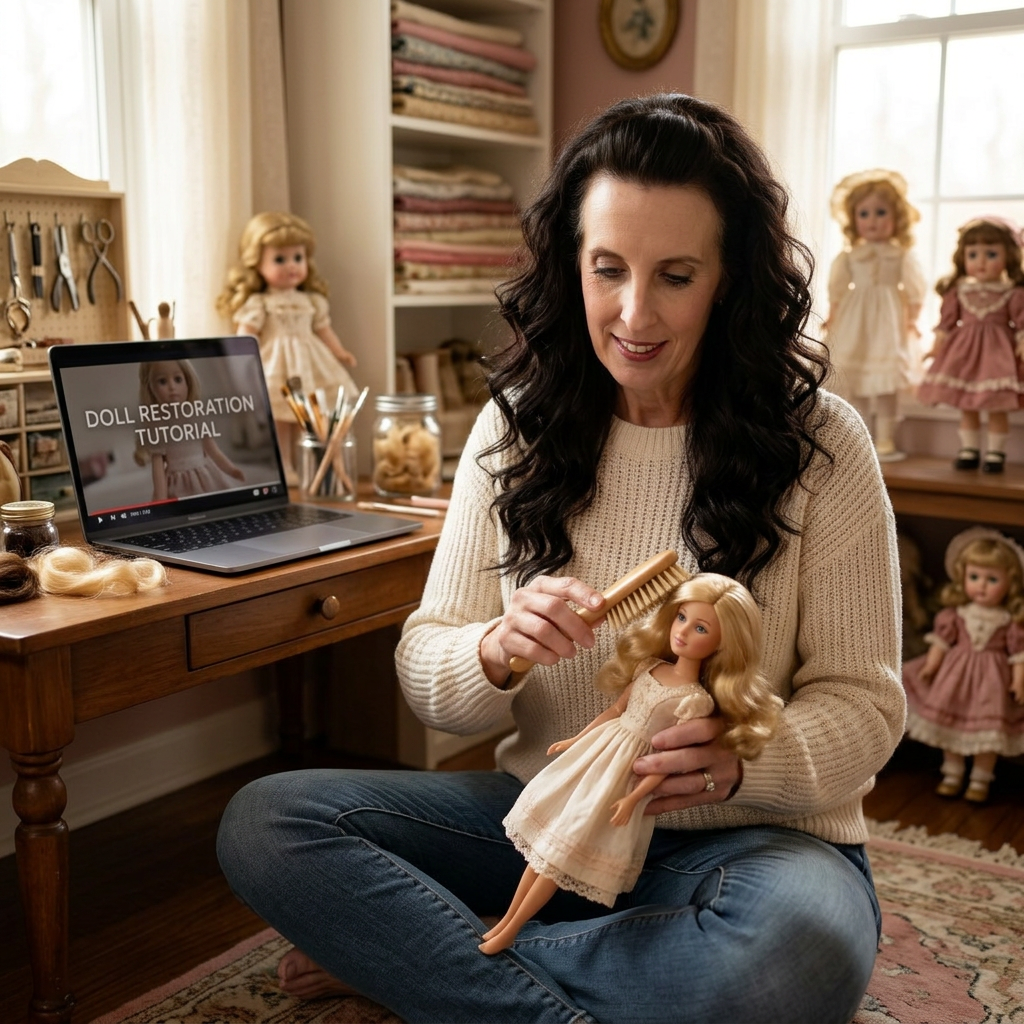
Nobody handed me a manual for restoring doll hair. There isn't one, at least not in any single place. What I have instead is a patchwork of things I learned from other artists — a customizer's livestream here, a restoration thread there, a quiet YouTube channel with two hundred subscribers and better instincts than most professionals I've watched. This is the story of how those small lessons became my own method, and how you can borrow the same approach without ever leaving your studio.
I want to be careful about credit and about claims. The specific artists who shaped my thinking know who they are, and where a technique clearly belongs to the community rather than to me, I say so out loud. Where I've adapted something into a personal method, I flag it as personal experience. That line matters, especially in a craft where confident-sounding advice can quietly damage a doll.
Where I actually started
My first real teacher was a tangled thrift-store doll and a search bar. I typed in what I saw — 'frizzy Barbie hair fix,' 'sticky doll hair,' 'boil wash before after' — and I read everything. Forum posts from 2008. YouTube videos with three hundred views. A single detailed comment on a Reddit thread that turned out to be more useful than an hour of polished tutorials. The best teachers, I learned quickly, weren't always the loudest ones.
What I did next is the part beginners tend to skip: I practiced on dolls I could afford to lose. Cheap thrift-store rescues, mismatched garage-sale bins, dolls with hair I already considered unsalvageable. Every one of them taught me something I couldn't have learned from a screen.
What I looked for in an artist worth learning from
The doll customizing community is generous and enormous, and it is also uneven. A polished thumbnail does not always mean a careful teacher. Over time I developed a short internal checklist that helped me decide whose techniques were worth borrowing.
- They named their materials — the fiber, the temperature range, the brand of conditioner — instead of gesturing at 'this stuff.'
- They showed the middle steps, not just the reveal.
- They admitted failures and revisions, sometimes in a follow-up video weeks later.
- They explained why a step existed, not only how to do it.
- Their finished dolls held up in still photos, in daylight, without a filter.
How I practiced what I saw
Watching wasn't enough. I had to translate every technique into something my own hands could reliably do, and the only way to do that was to repeat it — quietly, without an audience, on dolls that didn't matter yet. I kept a small notebook next to my workbench and wrote down every attempt: the doll, the fiber if I could tell, the water temperature, the conditioner, what happened, and what I would change next time. That notebook is now several years old and full of crossed-out lines, and it is one of the most valuable objects in my studio.
The other habit that changed everything was waiting overnight. A finished restoration always looks slightly different in the next morning's light than it did under a warm work lamp at midnight. I learned that from watching artists who consistently posted their results a full day after the technique — never in the same session — and I've kept the habit ever since.
The techniques I quietly adopted
Several small things I do now didn't originate with me, and I want to name that honestly. The 'test hidden strand at the nape' habit came from a longtime restorer whose photos I studied for months. The idea of combing from the tips upward on damp hair — the same way a hairstylist works with human hair — came from a customizer who mentioned it once, in passing, in a comment thread. The trick of drying dolls upside down over a folded towel to protect the crown came from a livestream I only half-watched. None of them are mine. All of them are in my method.
That, to me, is what a healthy craft community looks like. Small techniques travel from one artist to another, get adapted, and quietly improve the next person's work. The generous artists know this, and they don't gatekeep.
What I do differently now
The place I diverge from most of my early teachers is in how slowly I work. My first restorations were rushed because I wanted to see the result. My current restorations are unhurried — sometimes taking place over three or four short sessions across a week — because I've learned that a doll almost always looks better the second time I approach her, after a day of cool-off and honest evaluation.
That patience isn't a technique anyone taught me. It came from making enough mistakes on enough dolls to understand what impatience costs. Which, if I had to name the single most important thing other artists gave me, is really this: permission to take the time it takes.
How I'd suggest a beginner start
- Pick two or three doll artists whose finished work you genuinely admire in daylight photos, and watch every technique video they've made, in order.
- Keep a small notebook. Write down what you tried, what happened, and what you'd change.
- Practice on inexpensive rescues you don't mind losing. Save your grail dolls for after you have twenty quiet successes behind you.
- Wait overnight before you judge a restoration. Daylight is the honest critic.
- When something works, ask yourself why. That answer is the skill.
Where to go from here
If you want a practical starting point, my earlier articles on boil washing walk through the basics of the technique that most of the artists I learned from used as their gateway skill. The community that shaped my work is out there and mostly generous. Find two or three voices you trust, take careful notes, and let your own hands catch up to your eyes. That is the entire method, and it is enough.
“You do not need a mentor to become a careful artist. You need honest teachers, honest practice, and enough time to let both catch up to your ambition.”
Frequently asked
- How did Kim learn doll hair restoration from other artists?
- Mostly by watching honest work carefully — tutorials, livestreams, side-by-side comparisons, and long-running restoration threads. I copied techniques on inexpensive practice dolls first, kept notes on what actually worked, and slowly built a personal method out of the pieces that held up.
- How do you tell a trustworthy doll artist from a flashy one?
- Look for artists who name their fibers, show their failures, and explain why a method works — not just what it does. If someone can only demonstrate a technique on one perfect doll and refuses to show the boring middle steps, I set the video aside and keep looking.
- Do you need a mentor to learn doll hair restoration?
- A one-on-one mentor is a gift, but it isn't a requirement. Most of what I know came from a mosaic of teachers I never met in person. What matters is committing to slow, deliberate practice on dolls you can afford to make mistakes on.
- What should a beginner practice first?
- Gentle cleaning and detangling on a play-line doll with secure plugs. It teaches patience, comb control, and fiber behavior without the pressure of a rerooting tool. Once cleaning feels reliable, moving on to boil washing and eventually rerooting is a natural next step.
Continue exploring